These steps will help you load NeuroTrainer and start your first priming session using Locked In.
STEP 1: Load NeuroTrainer from Oculus Quest home screen
This video will show you how to load NeuroTrainer from the Oculus Quest home screen:
Video: Loading NeuroTrainer from Oculus Home
STEP 2: Your Menu Screen
On this screen, you will see 3 categories: Priming, Training & Assessment.
Select Training.
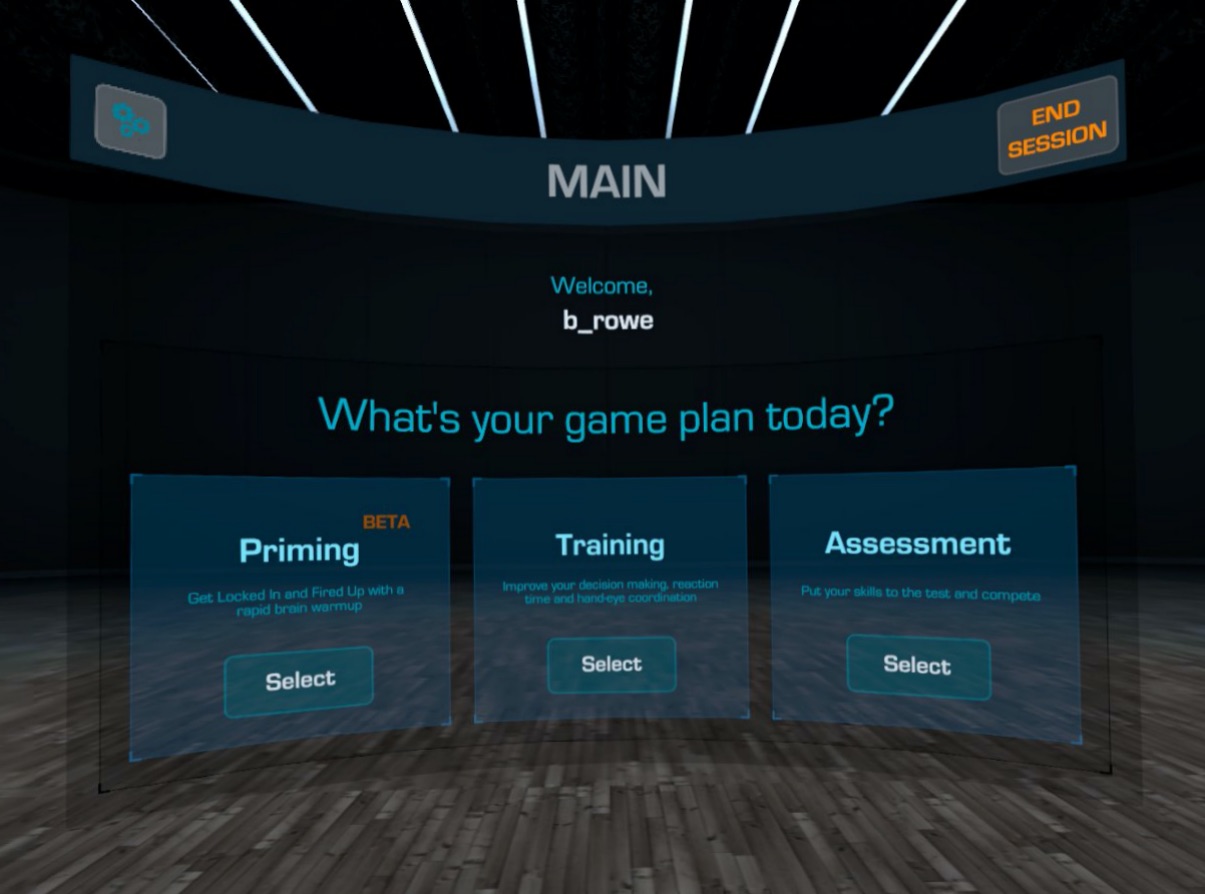
From this screen you will see 2 options:
-
Attention Flow (AFT)
- Perception-Action-Decision Loop (PADL)
Select AFT.

**NOTE: Once you've successfully completed the AFT tutorial you're able to continue with Locked In Priming.
STEP 4: Priming with Locked In
Return to the main menu.
Select Priming.

You'll see two options in the Priming Menu: Locked In & Fired Up.
For today's training, we'll focus solely on Locked In.
Click Locked In > Begin.

When to prime with Locked In...
"Access your best performance, now"
Designed to help induce a state of deep focus. The multi-object tracking task puts increased demands on the visual cortex and parietal lobes and forces the cerebral cortex (the source of conscious thought) to quiet. Ideal for pre-game warmups and quieting the mind.
Summary
In this tutorial, you learned how to:
- Load NeuroTrainer from Oculus Quest home screen
- Navigate to AFT
- Complete the AFT tutorial
- Navigate to Locked In inside of the Priming menu
- Prime with NeuroTrainer
This is enough to get you started and get to know the app. Now it's up to you to continue to explore NeuroTrainer, including: Attention Flow (Training), LockedIn (Priming), PADL Competition (Assessment) and NeuroScore Assessment (Assessment).
If you have any questions or problems accessing NeuroTrainer, please contact us at support@neurotrainer.com
Happy training!